Warm up with Pumpkin Crisp recipes today

If you’re craving a dessert that feels like a warm hug on a chilly day, Pumpkin Crisp is the answer. This cozy dish combines the rich, smooth flavors of spiced pumpkin with a crunchy, sweet topping that adds the perfect texture contrast. Easy to make and incredibly comforting, Pumpkin Crisp recipes are a fall favorite that bring a burst of seasonal flavors to your kitchen with every bite. Whether you’re serving it for a family gathering or a quiet night treat, Pumpkin Crisp offers the perfect way to warm up with comforting flavors and a touch of sweetness.
Why You’ll Love This Recipe
- Simple yet satisfying: Combines basic pantry ingredients to create a rich and flavorful dessert effortlessly.
- Perfect fall flavors: The blend of pumpkin, cinnamon, and nutmeg evokes the essence of autumn in every spoonful.
- Versatile for any occasion: Works beautifully as a casual family treat or a charming holiday dessert.
- Easy to customize: Adapts well to dietary preferences with gluten-free and vegan options.
- Crunchy topping delight: Offers a satisfying texture contrast that elevates the smooth pumpkin layer.
Ingredients You’ll Need
These ingredients are straightforward but essential, each bringing in key flavors and textures that make Pumpkin Crisp so irresistible. The pumpkin provides rich moisture and earthy sweetness, while the topping adds crunch and buttery warmth.
- Pure pumpkin puree: The star of the show, adding creamy texture and iconic fall flavor.
- Brown sugar: Gives sweetness with a hint of caramel that deepens the crisp’s taste.
- Cinnamon and nutmeg: Classic warming spices that transform your Pumpkin Crisp into a cozy treat.
- Oats: Create a hearty and crunchy topping that contrasts beautifully with the soft filling.
- Butter or dairy-free alternative: Helps bind the topping and adds a toasty richness.
- Flour or gluten-free blend: Holds the crisp topping together for perfect texture.
- Chopped nuts (optional): Adds extra crunch and nutty flavor to the topping.
Variations for Pumpkin Crisp
Feel free to make this Pumpkin Crisp recipe your own! It’s incredibly easy to swap, add, or remove ingredients to suit what you have on hand, your dietary needs, or simply your cravings.
- Vegan twist: Use coconut oil instead of butter and a flax egg for added binding.
- Nut-free version: Simply omit nuts or replace them with seeds like pumpkin or sunflower seeds.
- Spiced up: Add ginger, cloves, or cardamom to the pumpkin filling for a unique spice profile.
- Extra creamy: Mix in a dollop of cream cheese or coconut cream for a luscious texture.
- Sweetener swaps: Try maple syrup or honey instead of brown sugar for a natural sweetness.

How to Make Pumpkin Crisp
Step 1: Prepare the Pumpkin Filling
Start by mixing pumpkin puree with sweetener, cinnamon, nutmeg, and a pinch of salt. This blend creates the rich, spiced base that will soak into the crisp topping as it bakes, filling your kitchen with delightful autumn aromas.
Step 2: Make the Crisp Topping
Combine oats, brown sugar, flour, and softened butter in a bowl, blending until the mixture forms crumbly clusters. Add optional chopped nuts for an extra crunchy texture. This topping is the crunchy layer that gives the dessert its signature crispiness.
Step 3: Assemble and Bake
Spread the pumpkin mixture evenly in a baking dish, then scatter the crisp topping generously over it. Bake in a preheated oven until the topping is golden brown and the pumpkin filling is bubbling gently underneath, usually around 35 to 40 minutes.
Step 4: Cool and Serve
Allow the Pumpkin Crisp to cool for about 10 minutes so the filling sets slightly, making it easier to scoop and enjoy. Serve warm, optionally with vanilla ice cream or whipped cream for an indulgent finish.
Pro Tips for Making Pumpkin Crisp
- Use fresh spices: Freshly ground cinnamon and nutmeg make a big difference in the flavor depth.
- Don’t overmix the topping: Keeping some chunks intact helps create a desirable crunchy texture.
- Check your pumpkin puree: Opt for unsweetened pumpkin puree to control your dessert’s sweetness.
- Adjust baking time: If you like a softer topping, reduce baking time slightly; for crunchier, bake a bit longer.
- Let it rest: Cooling briefly before serving helps flavors meld beautifully.
How to Serve Pumpkin Crisp
Garnishes
Sprinkle with a dusting of powdered sugar or a drizzle of caramel sauce for an eye-catching finish. A scoop of vanilla or cinnamon ice cream adds extra creaminess and contrast.
Side Dishes
Pair Pumpkin Crisp with a warm cup of spiced tea, vanilla latte, or brewed coffee to complement the dessert’s rich flavors. For a brunch twist, add a dollop of Greek yogurt seasoned lightly with honey on the side.
Creative Ways to Present
Serve Pumpkin Crisp in individual ramekins for charming single servings, or layer it in a trifle bowl with whipped cream and crushed ginger snaps for a stunning autumn dessert display at gatherings.
Make Ahead and Storage
Storing Leftovers
Keep any leftover Pumpkin Crisp covered tightly in the refrigerator for up to 4 days. The flavors often deepen after resting overnight, making reheated portions even tastier.
Freezing
Pumpkin Crisp freezes beautifully. Portion into airtight containers or freeze the entire dish, wrapping it tightly to prevent freezer burn. Thaw overnight in the fridge before reheating.
Reheating
Warm individual portions in the microwave for about 45 seconds or reheat the entire dish in an oven at 350°F (175°C) until heated through and crisp on top, usually 15–20 minutes.
FAQs
Can I use canned pumpkin for Pumpkin Crisp?
Yes! Pure canned pumpkin puree works perfectly and is a convenient choice, just ensure it is 100% pumpkin, not pumpkin pie filling.
Is it possible to make Pumpkin Crisp gluten-free?
Absolutely! Substitute regular flour with a gluten-free flour blend and use certified gluten-free oats for a safe and delicious version.
What can I substitute for butter in the topping?
You can use coconut oil or vegan butter alternatives to make the topping dairy-free without sacrificing flavor or texture.
How do I prevent the topping from getting soggy?
Make sure your topping mixture is crumbly and spread evenly; avoid adding too much butter. Baking at the recommended temperature also helps keep the crisp texture intact.
Can Pumpkin Crisp be made ahead of time?
Yes! Bake it a day in advance and reheat before serving, or assemble and refrigerate it unbaked and bake when you’re ready.
Final Thoughts
There’s nothing quite like digging into a warm, fragrant Pumpkin Crisp to feel instantly comforted and cozy. This recipe is an easy way to bring seasonal flavors and a satisfying crunch to your dessert table any day of the week. So go ahead, whip up this delightful treat, and let the comforting aroma and flavors brighten your day—you’re going to love every bite!
Related Posts
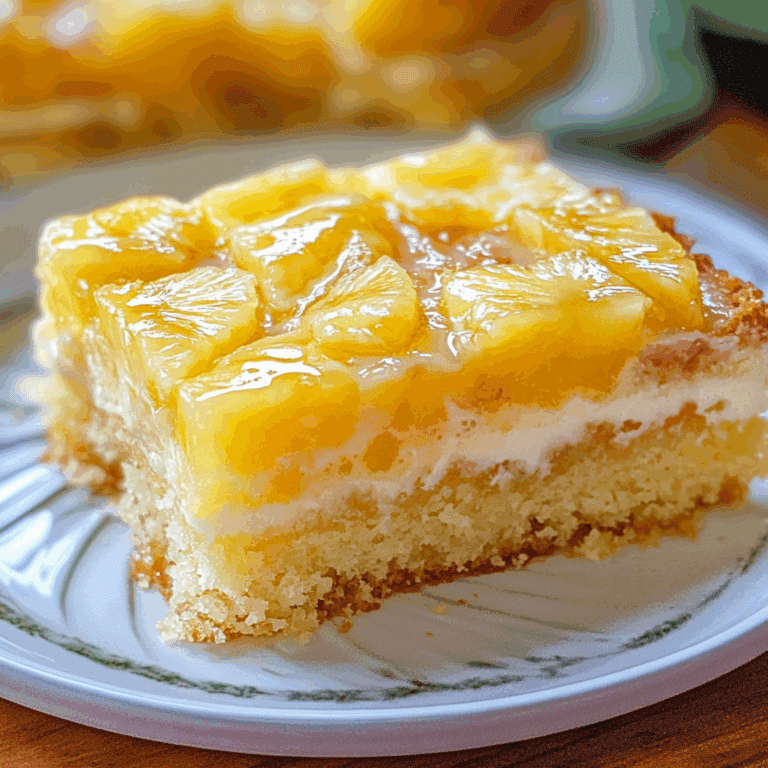
- Why No Bake Pumpkin Cheesecake Is Perfect for Fall
- What Makes the Best Homemade Brownies Irresistible?
- Best Pumpkin Chocolate Chip Cookies to Try Now

Pumpkin Crisp
- Total Time: 55 minutes
- Yield: 6 to 8 servings 1x
- Diet: Gluten Free (with gluten-free substitutions); Vegan option available
Description
Pumpkin Crisp is a cozy, comforting fall dessert combining smooth spiced pumpkin puree with a crunchy, sweet oat topping. Easy to make and adaptable for various dietary preferences, this dessert offers warm autumn flavors perfect for family gatherings or quiet nights.
Ingredients
Pumpkin Filling
- 2 cups pure pumpkin puree (unsweetened)
- 1/2 cup brown sugar (or maple syrup/honey as alternative)
- 1 teaspoon ground cinnamon
- 1/2 teaspoon ground nutmeg
- Pinch of salt
Crisp Topping
- 1 cup rolled oats (certified gluten-free if needed)
- 1/2 cup brown sugar
- 1/2 cup all-purpose flour or gluten-free flour blend
- 1/2 cup unsalted butter or dairy-free alternative (softened), or coconut oil for vegan option
- 1/2 cup chopped nuts (optional; omit or replace with seeds for nut-free version)
Instructions
- Prepare the Pumpkin Filling: Mix pumpkin puree with brown sugar (or alternative sweetener), cinnamon, nutmeg, and a pinch of salt in a bowl until combined well. This spiced blend will form the flavorful base of your crisp.
- Make the Crisp Topping: In a separate bowl, combine oats, brown sugar, flour, and softened butter (or dairy-free alternative). Mix until crumbly clusters form, then fold in chopped nuts if using. Avoid overmixing to preserve crunchy texture.
- Assemble and Bake: Spread the pumpkin mixture evenly in a greased baking dish. Sprinkle the crisp topping generously over the pumpkin layer. Bake in a preheated oven at 350°F (175°C) for 35 to 40 minutes, or until the topping is golden brown and the pumpkin filling is bubbling.
- Cool and Serve: Let the Pumpkin Crisp cool for about 10 minutes to allow the filling to set slightly. Serve warm, optionally topped with vanilla ice cream, whipped cream, a dusting of powdered sugar, or a drizzle of caramel sauce for extra indulgence.
Notes
- Use freshly ground cinnamon and nutmeg for richer flavor.
- Do not overmix the topping to maintain desirable crunchy chunks.
- Choose unsweetened pumpkin puree to control sweetness.
- Adjust baking time for desired topping texture: slightly less for softer, longer for crispier.
- Cool briefly before serving to let flavors meld and filling to set.
- Prep Time: 15 minutes
- Cook Time: 40 minutes
- Category: Dessert
- Method: Baking
- Cuisine: American
Nutrition
- Serving Size: 1/8 of recipe
- Calories: 280 kcal
- Sugar: 22 g
- Sodium: 90 mg
- Fat: 12 g
- Saturated Fat: 6 g
- Unsaturated Fat: 4 g
- Trans Fat: 0 g
- Carbohydrates: 38 g
- Fiber: 4 g
- Protein: 3 g
- Cholesterol: 25 mg
Keywords: pumpkin dessert, pumpkin crisp, fall dessert, gluten-free dessert, vegan pumpkin crisp, autumn recipe, baked pumpkin dessert